Categories

Sponsors

Archive
 Blogroll 
Badges


Community

|

How to create CentOS 5.6 template on SCVMM 2008 R2 – Part 2
Posted in Virtual Machine Manager | 1 Comment | 4,971 views | 24/05/2011 00:54
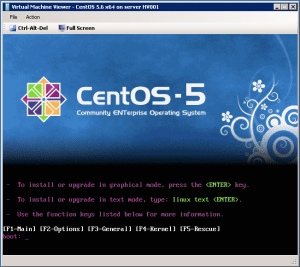
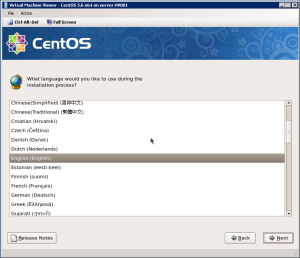
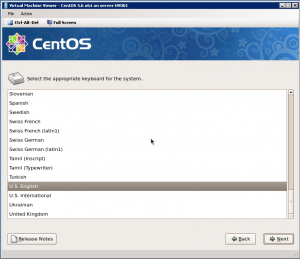
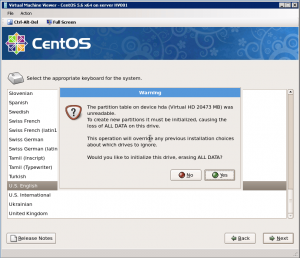
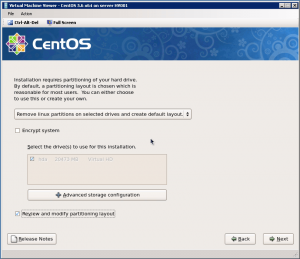
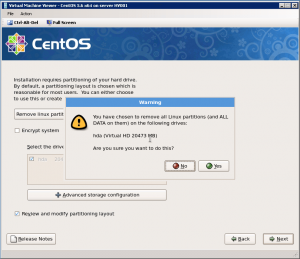
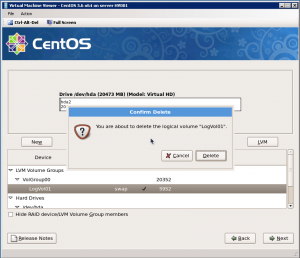
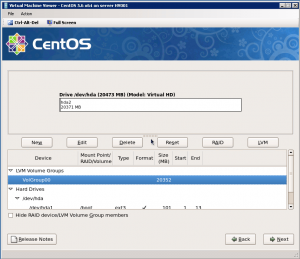
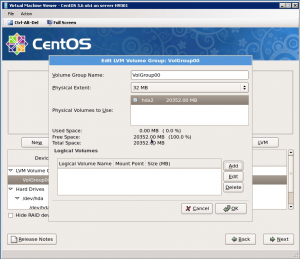
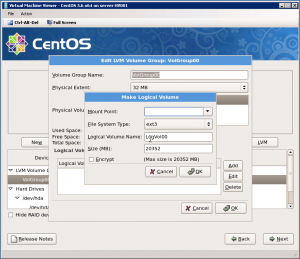
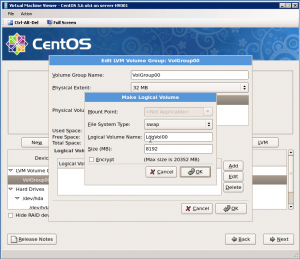
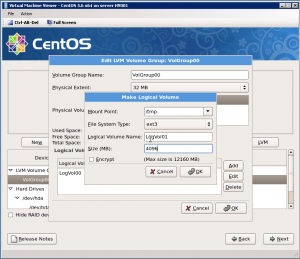
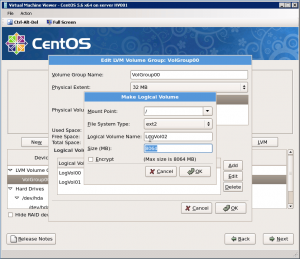
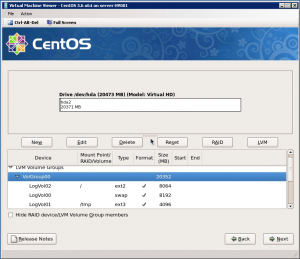
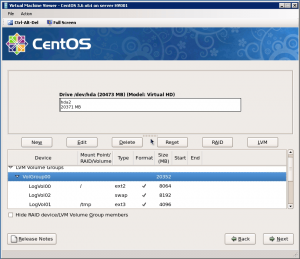
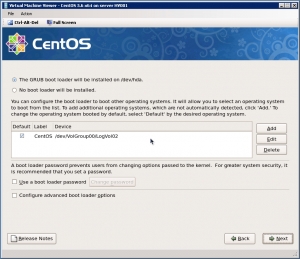
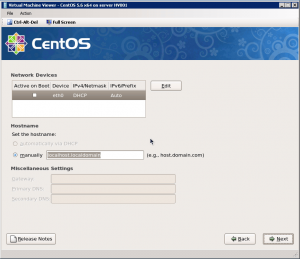
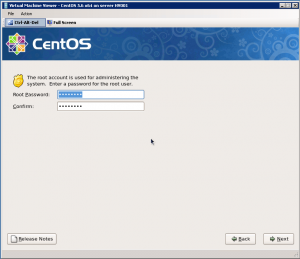
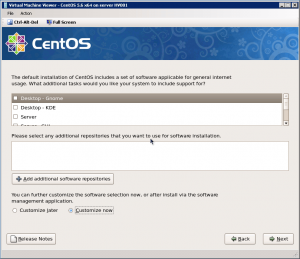
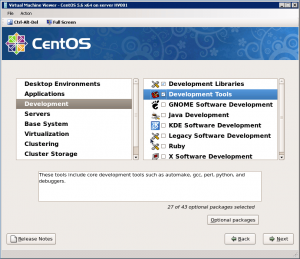
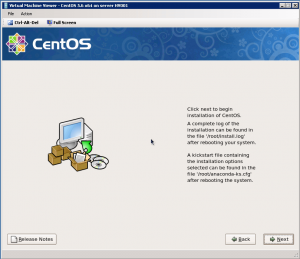
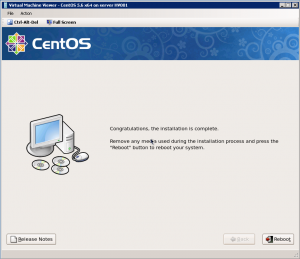
Step 9: Press Enter to start CentOS 5.6 x64 installation. Step 10: Skip CD checking and choose a language. Step 11: Choose keyboard and click “Next”. Step 12: You will see a warning about initializing disk drive. Click “Yes” and continue: Step 13: Click “Review and modify partitioning layout” and click “Next”. Step 14: Click “Yes” for warning to continue: Step 15: Delete pre-defined volumes by clicking “Delete” button. Step 16: After you clear volumes, go to LVM and click “Edit” button. Step 17: Click “Add” button to create new partitions in LVM. Step 18: Create mount points and sizes as you want. Step 19: As an example, I create a Swap partition as 8192 MB. Because swap should be twice of your memory. Step 20: Create /tmp mount point as 4096 MB. Step 21: Use all available space for / mount point. In this case I have only 8064 MB disk space. Step 22: So final partitioning layout should be: Update: You should first create / mount point. Otherwise you can’t extend LVM with Set-LinuxVM. Step 23: Next page, choose “GRUB boot loader” and click “Next”. Step 24: Leave all default but clear “Active on Boot” option. Step 25: Choose your timezone and next page assign a root password. Step 26: Clear the click of “Desktop Gnome” and click “Customize Now”. Step 27: Click “Development Libraries” and “Development Tools”, then click “Next”. Step 28: You can start installation by clicking “Next”. Step 29: After installation complete, reboot virtual machine. 
Comments (1)

Leave a Reply
|


