Categories

Sponsors


Archive
 Blogroll 
Badges


Community

|
Posted in Linux Server, Virtual Machine Manager | 23 Comments | 29,517 views | 15/08/2011 01:23
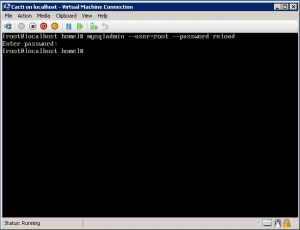
First part, we installed required components for Cacti. In this part, we’ll install and configure Cacti. After MySQL installation, first we should set MySQL root password.
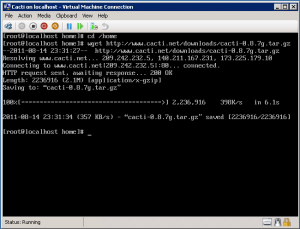
Let’s download latest Cacti release.
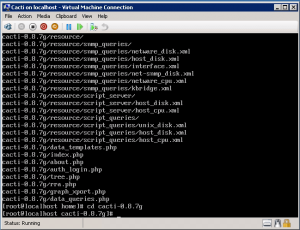
Untar tar ball.
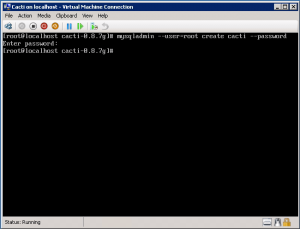
Create the MySQL database for Cacti. You have to type your root password to create database.
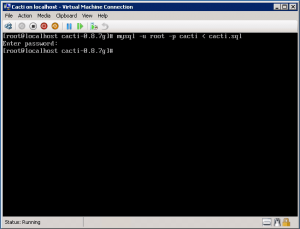
Import the default Cacti database.
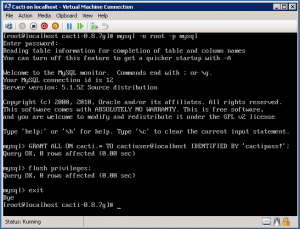
Create a MySQL username and password for Cacti for security reasons.
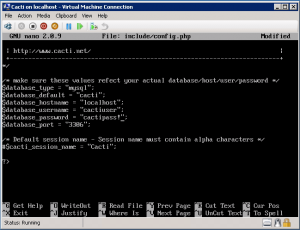
Edit “include/config.php” and specify the database type, name, host, user and password for your Cacti configuration.
$database_type = “mysql”;
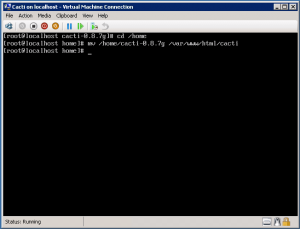
$database_default = “cacti”; $database_hostname = “localhost”; $database_username = “cactiuser”; $database_password = “cactipass!”; Move Cacti files into /var/www/html for web access.
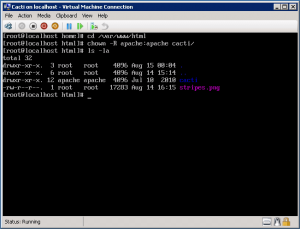
Go into Cacti directory and set the appropriate permissions for graph/log generation.
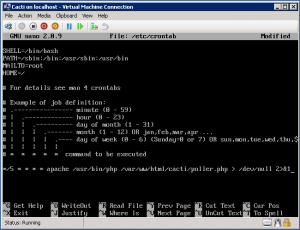
Add a line to your ”/etc/crontab” file.
*/5 * * * * cactiuser /usr/bin/php /var/www/html/cacti/poller.php > /dev/null 2>&1
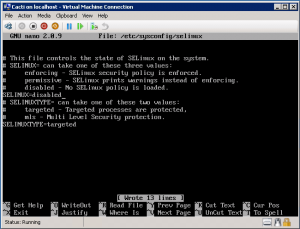
Disable SeLinux to web restrictions.
SELINUX=disabled
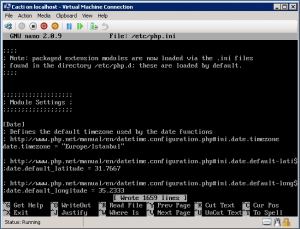
Reboot your server to apply changes. After reboot, go to php.ini configuration and change timezone.
date.timezone = “Europe/Istanbul”
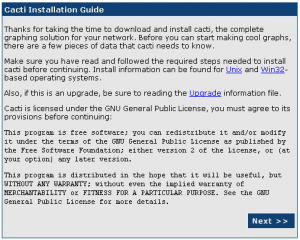
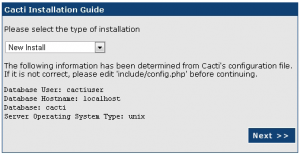
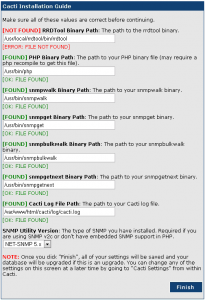
We finished Cacti installation. Now go to your web browser and connect to http://yourserverip/cacti. Choose “New Install” and click next. Correct RRDTool default path. RRDTool Binary Path: /usr/local/rrdtool/bin/rrdtool
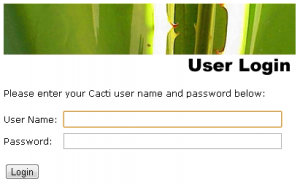
Now Cacti is online! You can login to Cacti with default username and password. After your first login, you should change password. username: admin
password: admin Now you can start adding your graphs :)
Posted in Linux Server, Virtual Machine Manager | 14 Comments | 30,589 views | 14/08/2011 16:22
Cacti is one of the best snmp based monitoring software. I’ll show you how to install and configure it on Hyper-V. You can see CentOS 6 installation on Hyper-V at the following posts: http://www.yusufozturk.info/linux-server/centos-6-desktop-installation-on-hyper-v-and-mouse-support-part1.html
http://www.yusufozturk.info/linux-server/centos-6-desktop-installation-on-hyper-v-and-mouse-support-part2.html So I assume you have a CentOS 6 with Hyper-V LIS v3.1. So lets continue with Cacti installation.
1. Apache
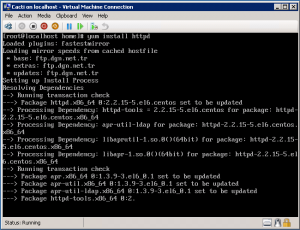
2. PHP 5.x 3. MySQL 5.x 4. RRDTool 1.2.x It’s time to install Apache on CentOS 6.
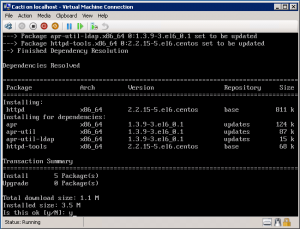
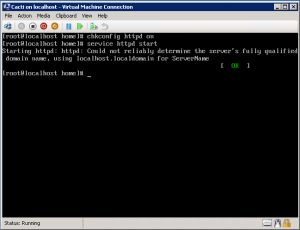
Type “y” and press Enter to accept installation. Now, start the Apache/httpd.
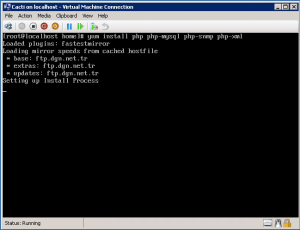
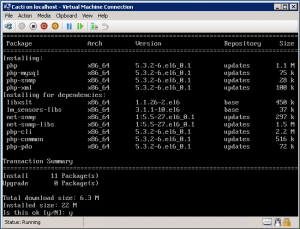
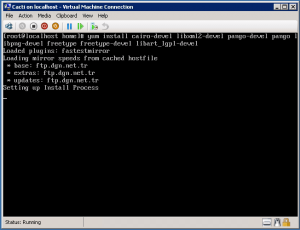
Now let’s install PHP.
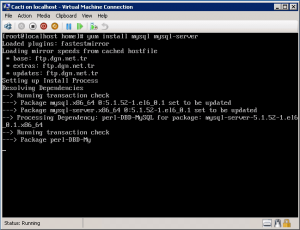
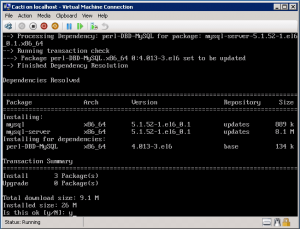
Type “y” and press Enter to accept installation. Now we will install MySQL.
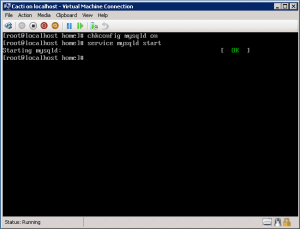
Type “y” and press Enter to accept installation. Now, start the MySQL/mysqld.
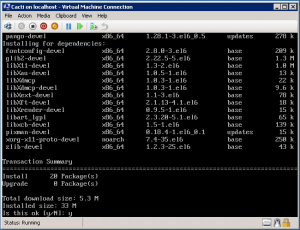
It’s time to install last component, RRDTools. First, we need to install required dependencies.
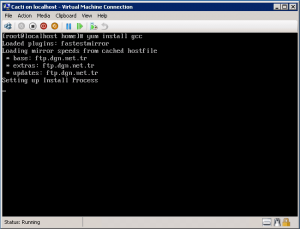
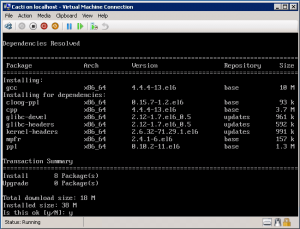
Type “y” and press Enter to accept installation. Install gcc to compile RRDTool.
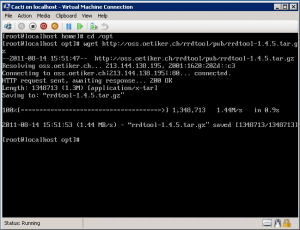
Type “y” and press Enter to accept installation. Download latest RRDTool.
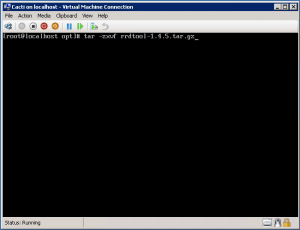
Untar tar ball.
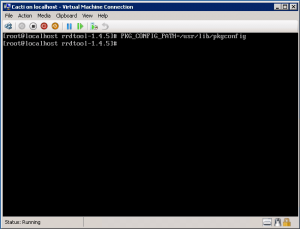
You need to set PKG_CONFIG_PATH.
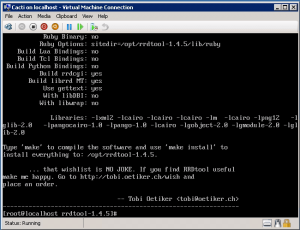
Now let’s configure and install RRDTool.
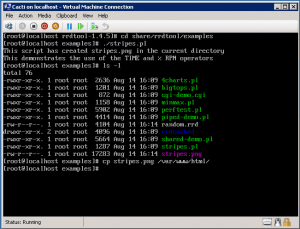
After installation is completed, let’s test RRDTool.
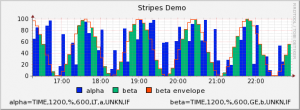
Lets see our test graph: We finished installation of required components for Cacti. Next part, we will see how to install and configure Cacti. You can continue with Part 2:
Posted in Linux Server, Virtual Machine Manager | 6 Comments | 11,541 views | 07/08/2011 21:54
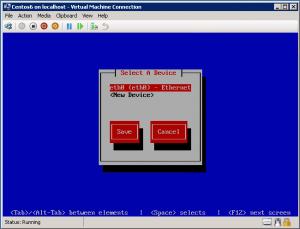
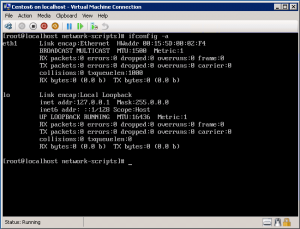
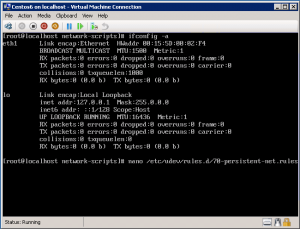
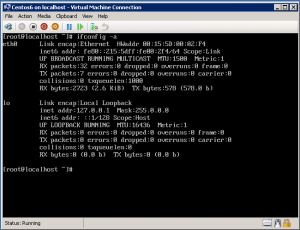
If you install Hyper-V Linux IS v3.1 on CentOS 6 and assign a new synthetic network card, network device name may change from eth0 to eth1. That’s not a good thing if you work with “Set-LinuxVM” because by default it works with eth0 (yes, you can consider this as a bug :)) Also I’m one of the guys who loves symmetry so I want to use eth0 instead of eth1, because my server has only one network adapter. So let’s look at the CentOS server. If you go to Setup and network devices, you’ll see eth0 as a device. I see eth0 in device menu but my server has no internet connection. Why? Let’s see current devices.
That’s the problem. Your pre-configured network device is eth0 but current device is changed as eth1. It’s also same problem when you don’t set Linux VM’s MAC as static in Hyper-V Clusters. When your Linux VM jumps over another Hyper-V node, it may get a new MAC id from MAC pool of the new Hyper-V node. If MAC changes, your device name also changes and your network connection dies. Actually you can change eth0 config as an eth1 to fix your network connection. Just you need to do:
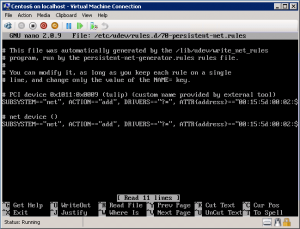
Also you need to edit ifcfg-eth1 file to change device name. But we want to use eth0 name instead of eth1. So let’s go to CentOS 6 net rules:
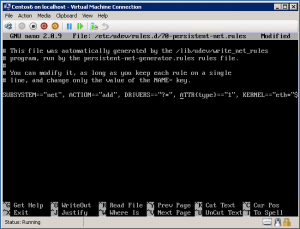
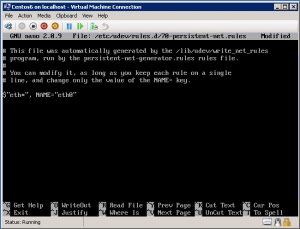
You will see two network devices in 70-persistent-net.rules. Just leave the first one and remove ATTR{address}==”xx:xx:xx:xx:xx:xx″ from device. Also at the end of the line, you will see the device name. That should be “eth0”. Save the changes and reboot your VM. Let’s check device name again.
Now you can use eth0 in your CentOS 6 VM. Nice job! |


