Categories

Sponsors

Archive
 Blogroll 
Badges

Community

|
Posted in Hosting & IIS7 | No Comment | 5,212 views | 30/05/2011 13:28
Merhaba, Juniper SSG20 üzerinde NAT tanımı yapabilmek için öncelikle; Network > Interfaces > List
altına girdikten sonra, Untrusted network’e gelip “Edit” linkine tıklıyoruz. Sonrasında yukarıda görülen MIP kısmına geçiş yapınız. Network > Interfaces > Edit > MIP (List)
Son olarak eklemiş olduğunuz MIP için Untrust’tan Trust’a “Policy” tanımlayarak, işlemi tamamlıyoruz.
Posted in Hosting & IIS7 | No Comment | 4,404 views | 30/05/2011 01:09
SQL Server 2008 R2 Licensing: SQL Server 2008 (without R2) Licensing: So, there is a difference between SQL Server 2008 and SQL Server 2008 R2 but it’s clear that if you license all of the physical processors for SQL Server 2008 R2 Datacenter or SQL Server 2008 Enterprise, you can run any instance of SQL Server 2008 R2 or SQL Server 2008 in any number of virtual operating system environments without regard to the number of physical and virtual processors used.
Posted in Virtual Machine Manager, Windows Powershell | 4 Comments | 14,378 views | 29/05/2011 16:19
Hello, Update: SetLinuxVM is now under GPLv2
After number of bug fixes, improvements and new functionalities, Set-LinuxVM reached version 2.3 stable. Fixed bugs: New functionalities: Other functionalities: Copyright (C) 2012 Yusuf Ozturk
This program is free software; you can redistribute it and/or modify it under the terms of the GNU General Public License as published by the Free Software Foundation; either version 2 of the License, or (at your option) any later version. This program is distributed in the hope that it will be useful, but WITHOUT ANY WARRANTY; without even the implied warranty of MERCHANTABILITY or FITNESS FOR A PARTICULAR PURPOSE. See the GNU General Public License for more details. You should have received a copy of the GNU General Public License along with this program; if not, write to the Free Software Foundation, Inc., 59 Temple Place, Suite 330, Boston, MA 02111-1307 USA Download: Donate: Thanks to support this open source project! Usage: 1. First, you should allow signed Powershell scripts:
2. Extract file and move “SetLinuxVM” directory under to “C:\Windows\System32\WindowsPowerShell\v1.0\Modules”. 3. Import as a module:
4. That’s it. To see how to use it:
5. Follow to instructions. How to create Linux VM template for Set-LinuxVM: how-to-create-centos-5-6-template-on-scvmm-2008-r2-part-1
how-to-create-centos-5-6-template-on-scvmm-2008-r2-part-2 how-to-create-centos-5-6-template-on-scvmm-2008-r2-part-3 Sponsor: Applied Innovations
Posted in Virtual Machine Manager | 3 Comments | 7,639 views | 24/05/2011 01:24
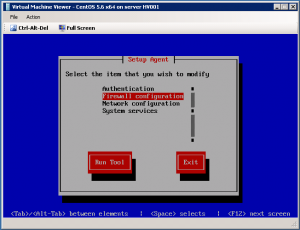
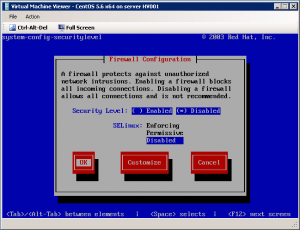
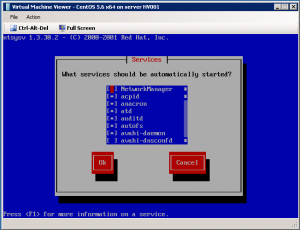
Step 30: After first reboot, you’ll see this screan. Step 31: Select “Firewall configuration” and disable it. Step 32: Select “Services configuration”: Step 33: Leave enable only these services for minimal installation:
acpid
auditd crond haldaemon irqbalance kudzu lvm2-monitor mdmonitor messagebus microcode_ctl netfs network sshd syslog Step 34: Reboot your virtual machine. Step 35: Login your VM and execute:
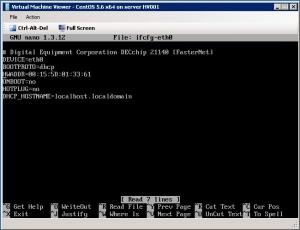
Step 36: Remove HWADDR line to prevent ethernet issues. Step 37: Copy ethernet configuration.
Step 38: Execute Set-LinuxVM to give internet access to VM. So we can do latest updates.
Step 39: Execute the command below to update your VM.
Step 40: Clear ethernet configuration.
Step 41: Clean bash history with the command below.
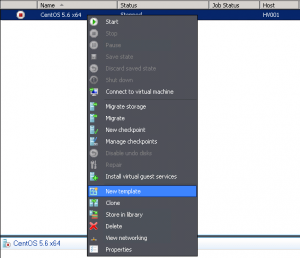
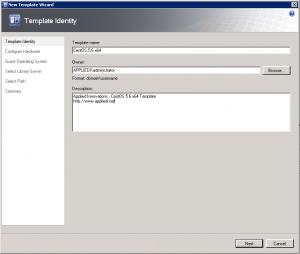
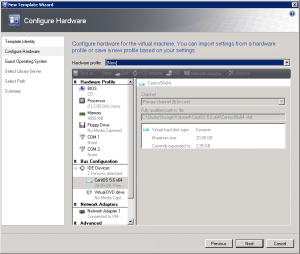
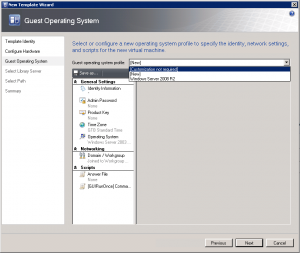
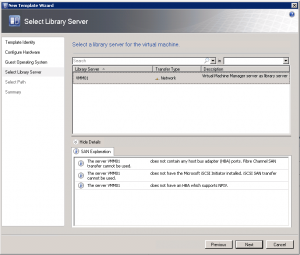
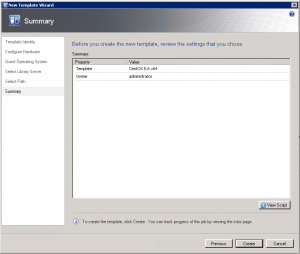
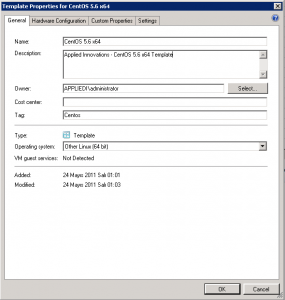
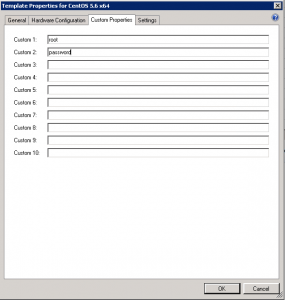
Step 42: Turn off your Virtual Machine. Step 43: Right click on Virtual Machine and click “New template”. Step 44: Put template information. Step 45: Leave hardware properties as default. Step 46: Most important! Choose “[Customization not required]” to provision Linux VMs. Step 47: Choose your library server, then choose a share path. Step 48: Click “Create” button to start creation process. Step 49: Go to template properties. Type distro name to the “Tag” field. Step 50: Go to “Custom Properties” tab. Type username into first field, type password into second field. So with these changes, Set-LinuxVM looks for distro, username and password information from template. If you create a Linux VM from this template, use Set-LinuxVM like below:
You should use Set-LinuxVM version 2.3 or newer to use template functionality.
Posted in Virtual Machine Manager | 1 Comment | 4,971 views | 24/05/2011 00:54
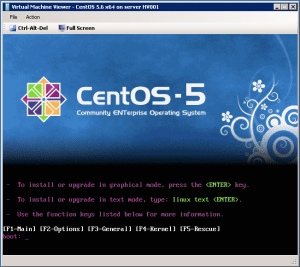
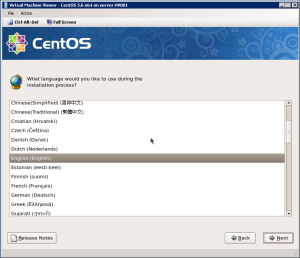
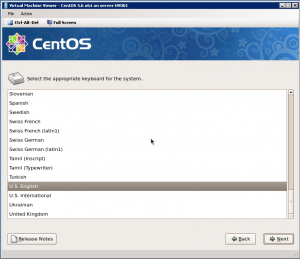
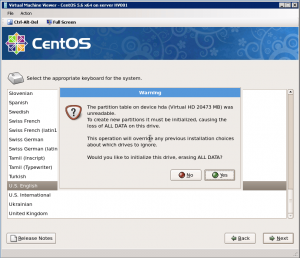
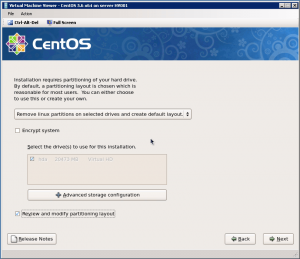
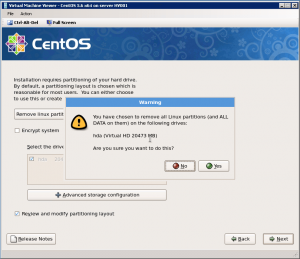
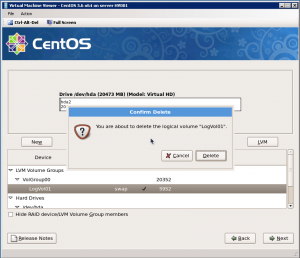
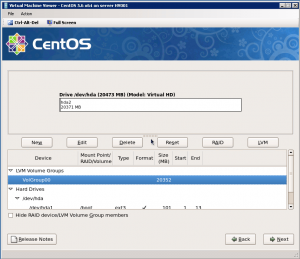
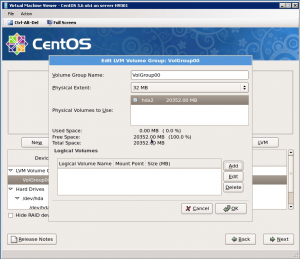
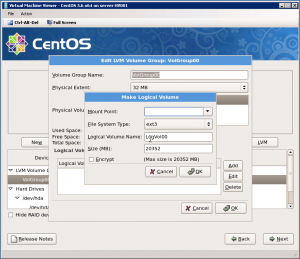
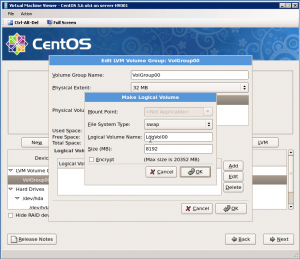
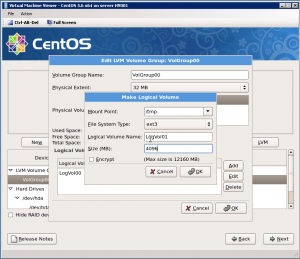
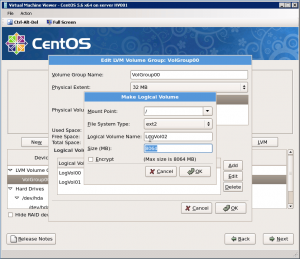
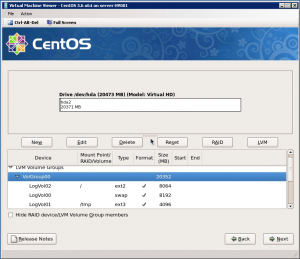
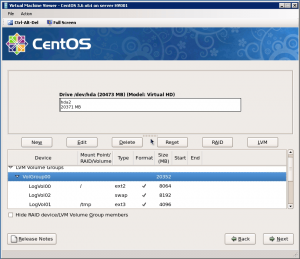
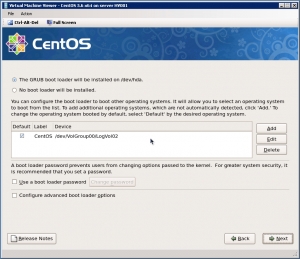
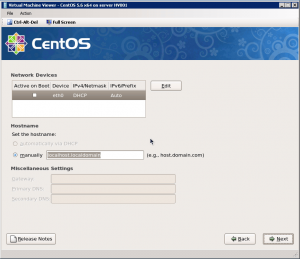
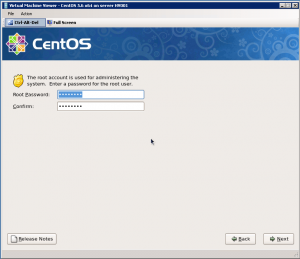
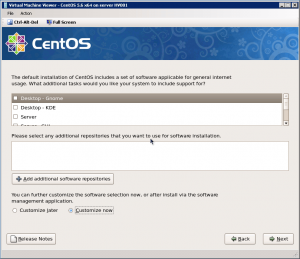
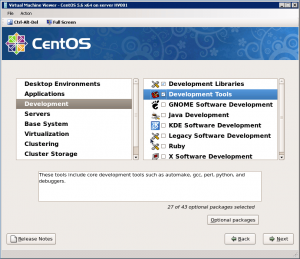
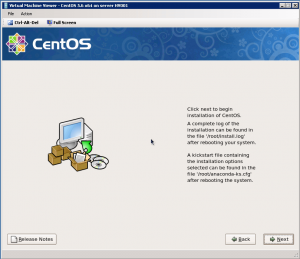
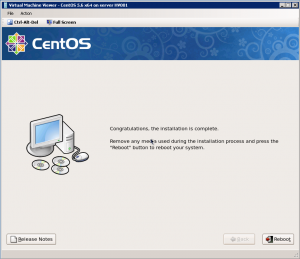
Step 9: Press Enter to start CentOS 5.6 x64 installation. Step 10: Skip CD checking and choose a language. Step 11: Choose keyboard and click “Next”. Step 12: You will see a warning about initializing disk drive. Click “Yes” and continue: Step 13: Click “Review and modify partitioning layout” and click “Next”. Step 14: Click “Yes” for warning to continue: Step 15: Delete pre-defined volumes by clicking “Delete” button. Step 16: After you clear volumes, go to LVM and click “Edit” button. Step 17: Click “Add” button to create new partitions in LVM. Step 18: Create mount points and sizes as you want. Step 19: As an example, I create a Swap partition as 8192 MB. Because swap should be twice of your memory. Step 20: Create /tmp mount point as 4096 MB. Step 21: Use all available space for / mount point. In this case I have only 8064 MB disk space. Step 22: So final partitioning layout should be: Update: You should first create / mount point. Otherwise you can’t extend LVM with Set-LinuxVM. Step 23: Next page, choose “GRUB boot loader” and click “Next”. Step 24: Leave all default but clear “Active on Boot” option. Step 25: Choose your timezone and next page assign a root password. Step 26: Clear the click of “Desktop Gnome” and click “Customize Now”. Step 27: Click “Development Libraries” and “Development Tools”, then click “Next”. Step 28: You can start installation by clicking “Next”. Step 29: After installation complete, reboot virtual machine.
Posted in Virtual Machine Manager | 1 Comment | 7,841 views | 24/05/2011 00:52
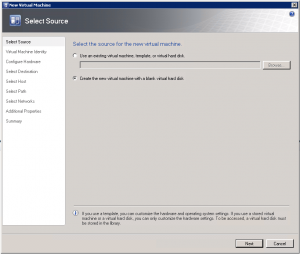
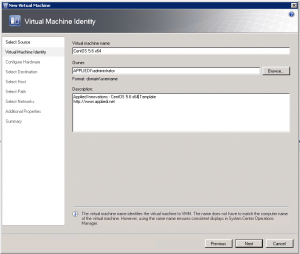
Hello there! Now it’s possible to use Linux VM templates on SCVMM 2008 R2 for quick deploys if you use “Set-LinuxVM”. We just need a clean Linux template for quick deploys. Lets start with creating our Linux VM. Go to SCVMM and click “New Virtual Machine”. Step 1: Choose “Create the new virtual machine with a blank virtual hard disk” and click “Next”. Step 2: Give a name and description for your Virtual Machine and click “Next”. Step 3: You should be careful about CPU, memory and network adapter. As an example, hardware profile should be: vCPU: 1
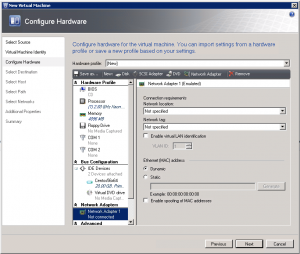
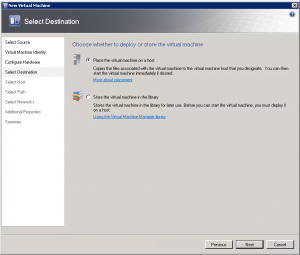
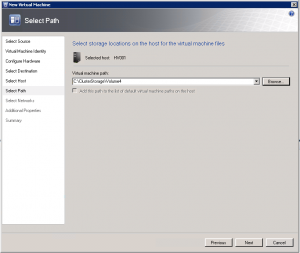
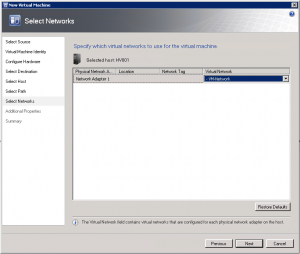
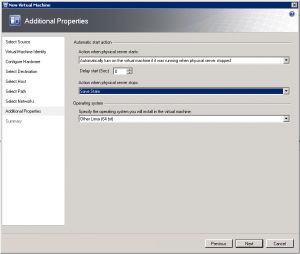
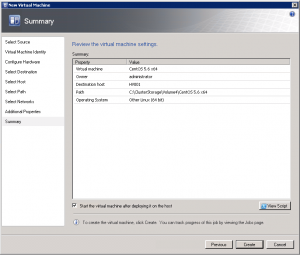
Memory: 4096 MB Disk: 20 GB Network: Emulated It’s very important to use 1 vCPU and emulated network adapter with your Linux VM template. I assign 4096 MB memory to virtual machine because usually I setup virtual machines with that memory value. If you usually setup VMs with 2048 MB memory, then give that! I assign 20 GB of disk space because I’ll split that into partitions for best performance. I’ll also use Logical Volume (LVM) to extend volumes with “Set-LinuxVM“. Step 4: Next screen, choose “Place the virtual machine on a host”. Step 5: Select a host and storage volume, then click “Next”. Step 6: Choose Virtual Network for VM and click “Next”. Step 7: Set additional properties and click “Next”. Step 8: Click “Create” and finish this proccess. After a minute, your VM will be up and ready for CentOS installation.
Posted in Virtual Machine Manager, Windows Powershell | 6 Comments | 18,281 views | 15/05/2011 23:36
Hello, I’ve announced a new functionality for Linux virtual machines on Hyper-V a few days ago. I called it “Set-LinuxVM”. What you can do with “Set-LinuxVM”: 1) Unattended IP, Hostname and DNS configuration for Linux VMs. Download: Usage:
PS: I’m looking for a way to assign this script with a commercial certificate. 2. Extract file and move “SetLinuxVM” directory under to “C:\Windows\System32\WindowsPowerShell\v1.0\Modules”. 3. Import as a module:
4. That’s it. To see how to use it:
5. Follow to instructions. Share your comments if you see a bug or something.. |


