Categories

Sponsors

Archive
 Blogroll 
Badges


Community

|
Posted in Linux Server, Virtual Machine Manager, Windows Powershell | No Comment | 3,862 views | 27/07/2011 13:59
Yeni Hyper-V Linux Integration Service v3.1 ile birlikte gelen KVP Exchange desteği sayesinde bir çok bilgiyi çekebilmeniz mümkün. Öncelikle yapmanız gereken Get-HyperVKVP dosyasını indirmek ve bir Hyper-V sunucusunun üzerine kurmak olacaktır. Download: Scripti Hyper-V sunucusu üzerinde aşağıdaki gibi çalıştırabilirsiniz.
Hyper-V üzerindeki CentOS 6 için örnek bir script çıktısı: PS C:\> .\Get-HyperVKVP.ps1 Centos6
FullyQualifiedDomainName: centos6.yusufozturk.info Get-HyperVKVP.ps1 dosyasının kaynak kodu:
Bilgileri WMI üzerinden çektiği için bu scripti SCVMM üzerinde kullanamazsınız.
Posted in Linux Server, Virtual Machine Manager | 1 Comment | 9,214 views | 27/07/2011 13:28
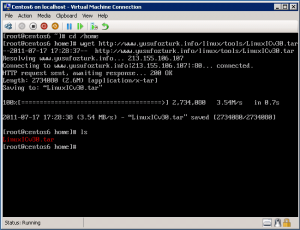
Bu makalede size CentOS 6 üzerinde nasıl Hyper-V Linux Integration Services v3.1 kurabileceğinizi gösteceğim. Adım 1: Hyper-V LIC v3.1 indirebilmek için aşağıdaki komutları uygulayın.
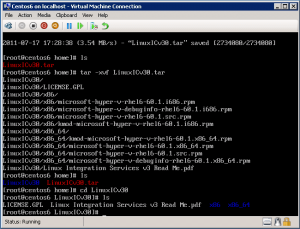
Adım 2: untar işlemi sonrası “LinuxICv31″ klasörüne gidin ve dosyaları kontrol edin.
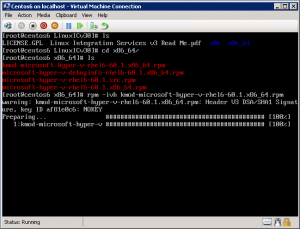
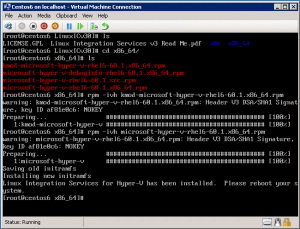
Adım 3: CentOS üzerinde “kmod-microsoft-hyper-v-rhel6-60.1.x86_64.rpm” kurulumunu yapın.
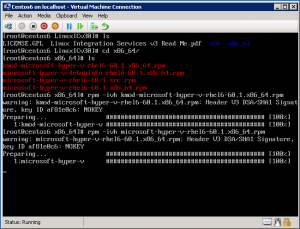
Adım 4: CentOS üzerinde “microsoft-hyper-v-rhel6-60.1.x86_64.rpm” kurulumunu yapın.
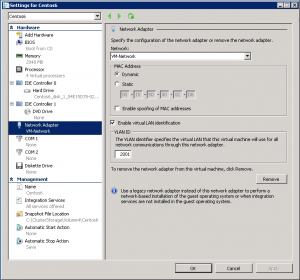
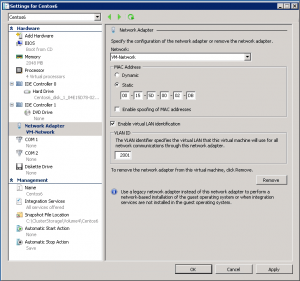
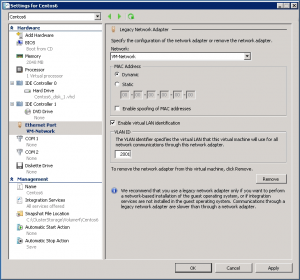
Adım 5: Eğer kurulum başarılıysa, aşağıdaki bilgi mesajını görmeniz gerekiyor. Adım 6: Sanal sunucunuzu kapatıp, emulated network adaptörünü kaldırın ve yerine sentetik network adaptörü ekleyin. Adım 7: Eski MAC adresinin aynısını yeni network adaptörüne ekleyin ve statik olarak ayarlayın. Adım 8: Sanal sunucunuzu başlatabilirsiniz.
Posted in Linux Server, Virtual Machine Manager | 15 Comments | 24,462 views | 27/07/2011 12:29
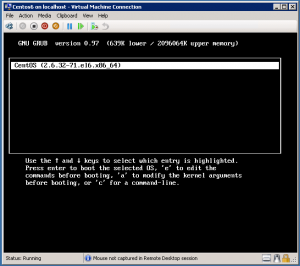
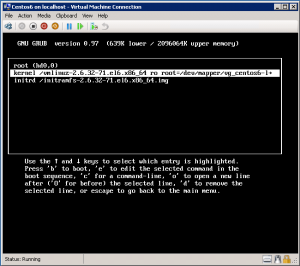
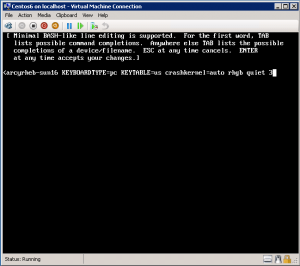
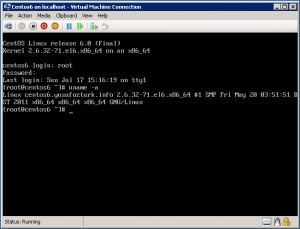
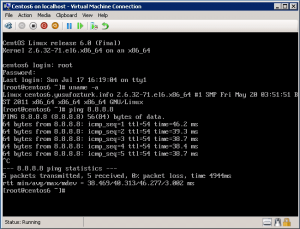
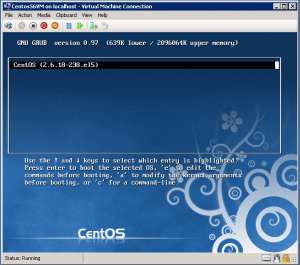
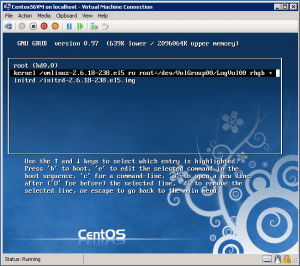
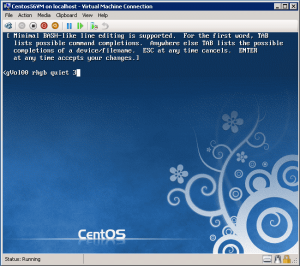
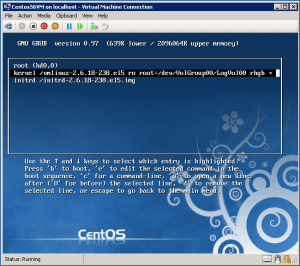
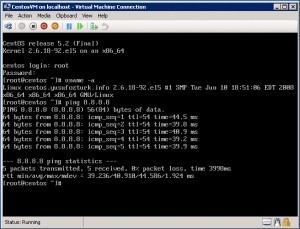
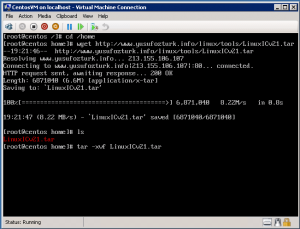
We finished CentOS installation on first part. I’ll show you how to install Hyper-V LIC and mouse support. Step 19: After installation reboot server and using keyboard, stay at GRUB menu. Press “e” to edit. Step 20: Select kernel and press “e” again to edit kernel arguments. Step 21: Go to end and type “3″ to boot in multi user mode without graphical interface. Press “Enter” to save changes. Step 22: Select kernel again and press “b” button to boot from that kernel. Step 23: Login with root username and password. Type “uname -a” to see your kernel. Step 24: Try to ping an ip address to check your network connection. Step 25: Type the commands below to download integration components.
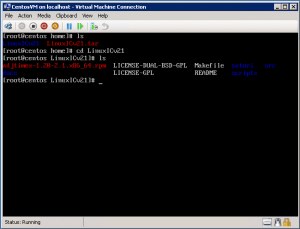
Step 26: After untar, go into “LinuxICv31″ directory and check files.
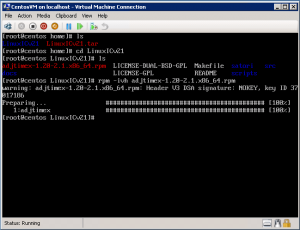
Step 27: Install “kmod-microsoft-hyper-v-rhel6-60.1.x86_64.rpm” on CentOS.
Step 28: Install “microsoft-hyper-v-rhel6-60.1.x86_64.rpm” on CentOS.
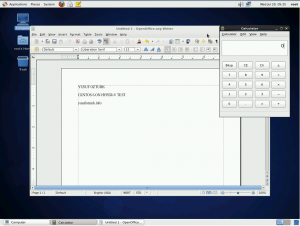
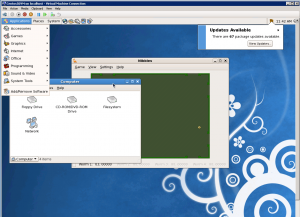
Step 29: If installation is successful, then you should see this message. Step 30: After LIC installation turn off your VM. Step 31: Remove emulated network adapter. Add new synthetic network adapter. Step 32: Set same MAC address but configure it as static. Step 33: You can use CentOS 6 Desktop with mouse support. PS: Mouse support is only available with Hyper-V LIC v3.2 at the moment.
Posted in Linux Server, Virtual Machine Manager | 10 Comments | 17,266 views | 27/07/2011 10:18
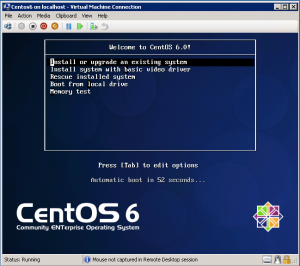
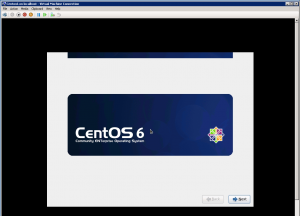
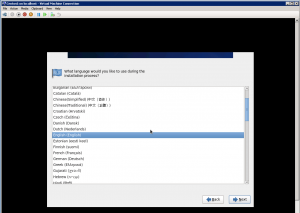
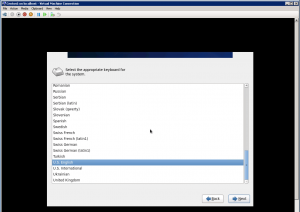
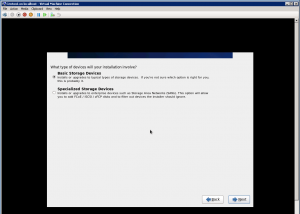
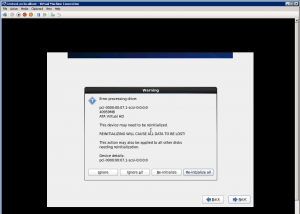
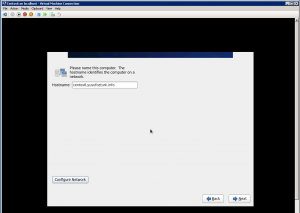
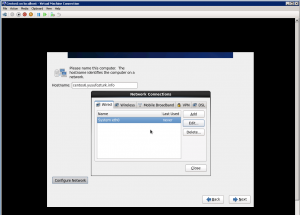
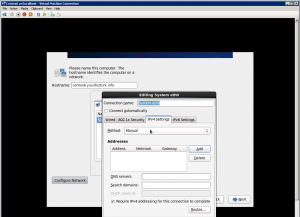
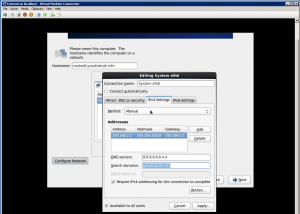
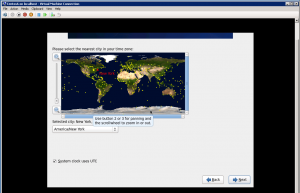
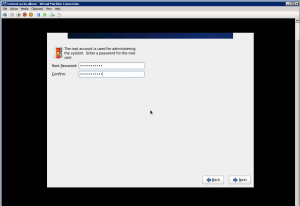
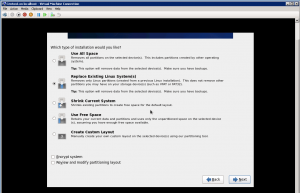
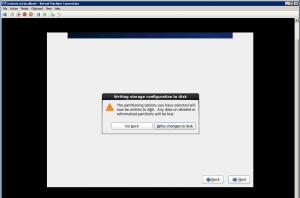
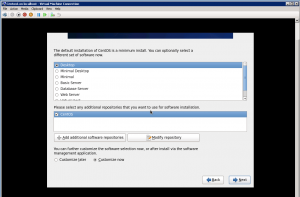
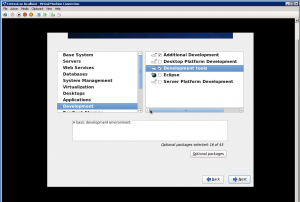
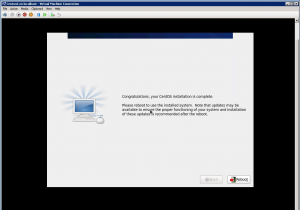
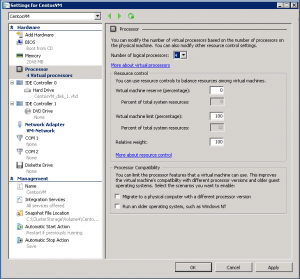
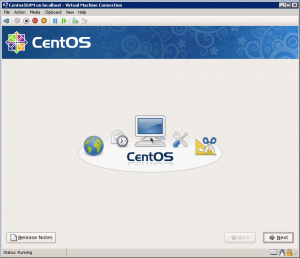
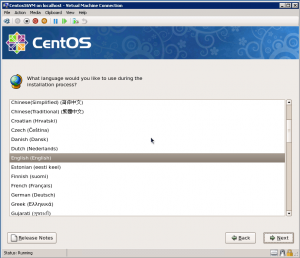
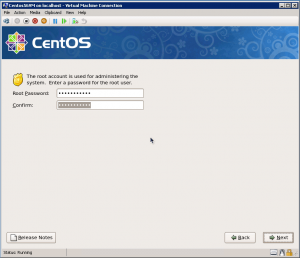
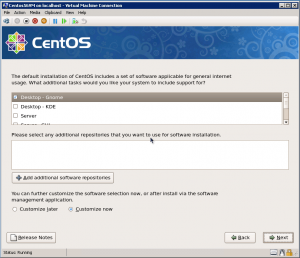
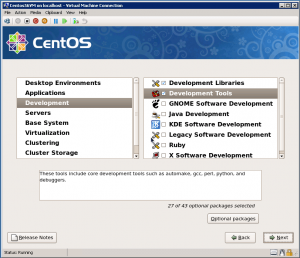
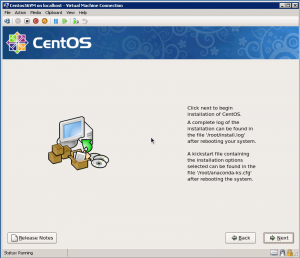
Size bu makalede Hyper-V üzerinde adım adım nasıl CentOS 6 Desktop sürümünü kurabileceğinizi göstereceğim. Adım 1: Hyper-V üzerinde emulated network adaptörü ve 1 vCPU ile bir VM yaratın. Adım 2: Grafiksel CentOS kurulumunu başlatabilmek için ilk seçeneği seçin. Adım 3: “Next” ile hoşgeldin sayfasını geçin. Adım 4: Kullanmak istediğiniz CentOS dilini seçin. Adım 5: Klavye dilini seçin. Adım 6: “Basic Storage Devices” seçeneğini seçin ve Next’e tıklayın. Adım 7: Partition re-initializing için onay verin. Adım 8: Bir hostname yazıp, adaptör üzerindeki IP adresini düzenleyebilmek için “Edit” butonuna basın. Adım 9: Seçili network adaptörünü düzenlemek için tekrar “edit” butonuna basın. Adım 10: “IPv4 Settings” seçeneğine gidin ve method için “Manual” seçip “Add” butonuna tıklayın. Adım 11: Network ayarlarını konfigure edin. Adım 12: Bölgenizi seçin. Adım 13: VM için bir parola belirleyin. Adım 14: “Replace Existing Linux Systems” seçeneğini seçin ve “next” butonuna tıklayın. Adım 15: Değişiklikleri disk üzerine yazmayı onaylayın. Adım 16: “Desktop” opsiyonunu seçip, “Customize now” seçeneğini seçin. Adım 17: Yüklenmesi için “Additional development” ve “Development Tools” bileşenlerini seçin. Adım 18: Eğer bu ekranı görüyorsanız, kurulumu tamamladınız demektir. Part 2 üzerinden kuruluma devam edebilirsiniz. Not available yet!
Posted in Linux Server, Virtual Machine Manager | 6 Comments | 11,972 views | 17/07/2011 20:02
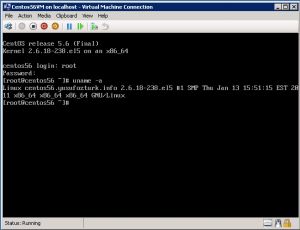
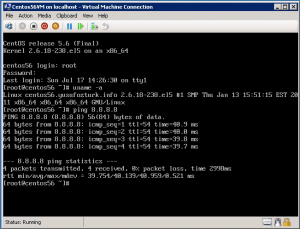
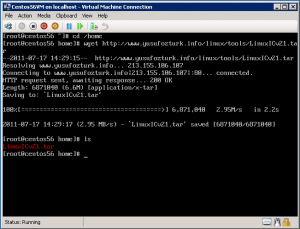
We finished CentOS installation on first part. I’ll show you how to install Hyper-V LIC and mouse support. Step 16: After installation reboot server and using keyboard, stay at GRUB menu. Press “e” to edit. Step 17: Select kernel and press “e” again to edit kernel arguments. Step 18: Go to end and type “3” to boot in multi user mode without graphical interface. Press “Enter” to save changes. Step 19: Select kernel again and press “b” button to boot from that kernel. Step 20: Login with root username and password. Type “uname -a” to see your kernel. Step 21: Try to ping an ip address to check your network connection. Step 22: Type the commands below to download integration components.
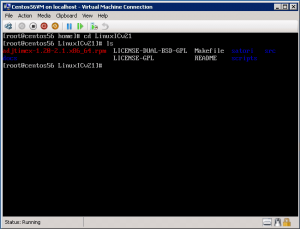
Step 23: After untar, go into “LinuxICv21” directory and check files.
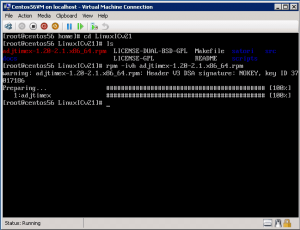
Step 24: Install adjtimex for time source.
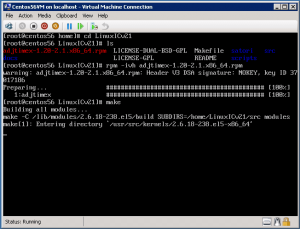
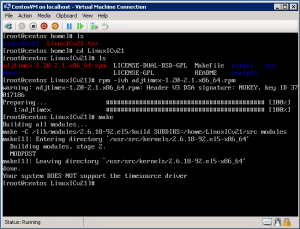
Step 25: After adjtimex installation, type “make”.
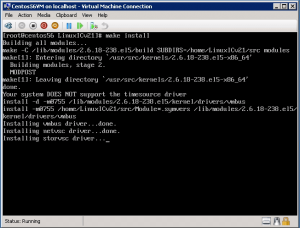
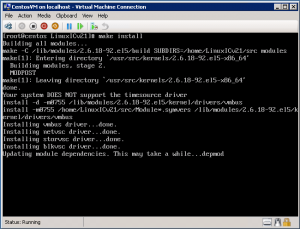
Step 26: Type “make install” to install Linux IC v21.
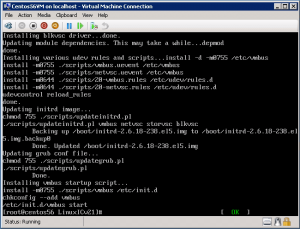
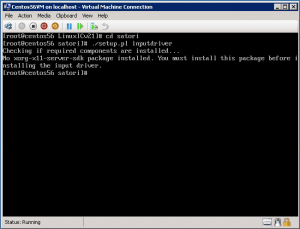
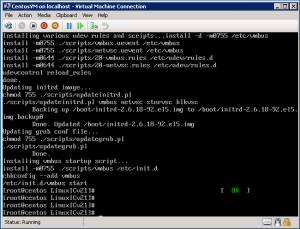
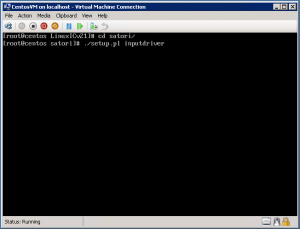
Step 27: After installation, you should be sure that VMBUS is started. Step 28: Install Satori for mouse support.
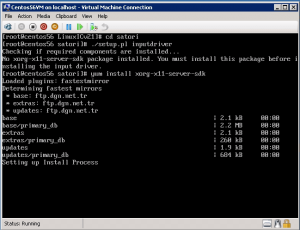
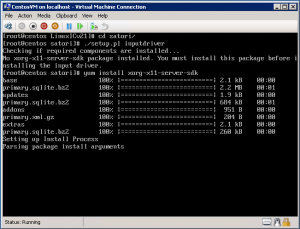
Step 29: If you don’t have “xorg-x11-server-sdk”, install it with yum install.
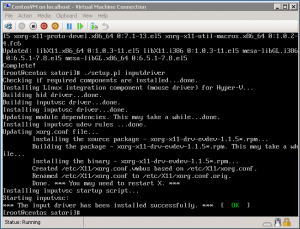
Step 30: Try to install Satori again after yum installation.
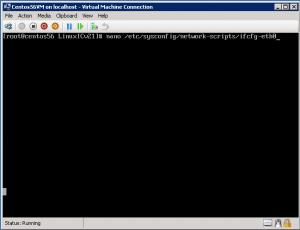
Step 31: Go to eth0 configuration and edit it.
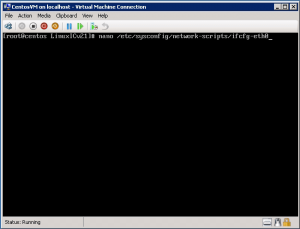
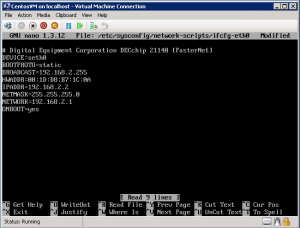
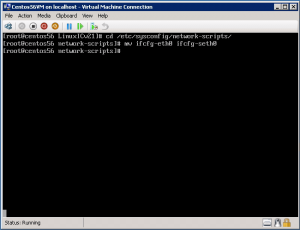
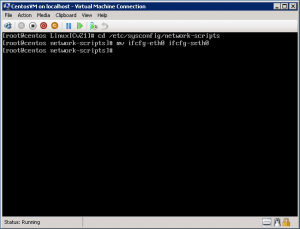
Step 32: Change eth0 to seth0 for synthetic device support. Also note MAC address. Step 33: Change device config name as seth0.
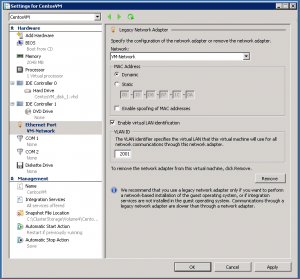
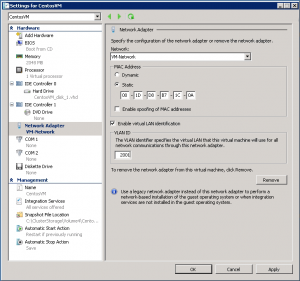
Step 34: Turn off VM and go to Network Adapter Settings. Remove emulated device. Step 35: Add a new synthetic network adapter with same MAC address and VlanID. But make MacID static. Step 36: You can also increase vCPU count. Step 37: Start your VM. Now mouse support and synthetic network device support is available in CentOS.
Posted in Linux Server, Virtual Machine Manager | 3 Comments | 12,617 views | 17/07/2011 19:55
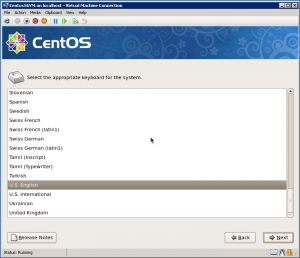
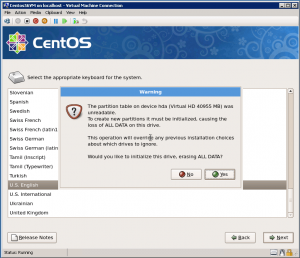
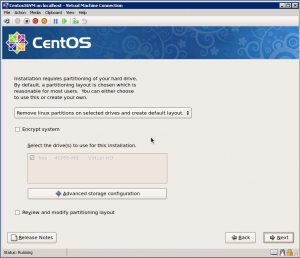
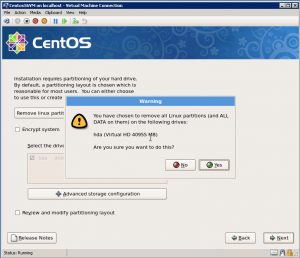
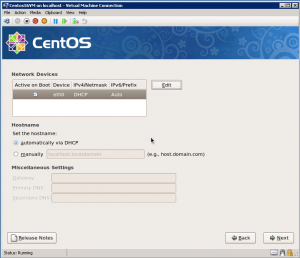
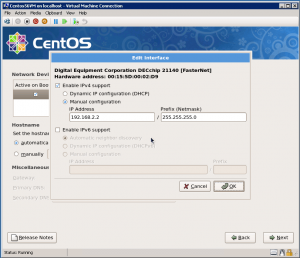
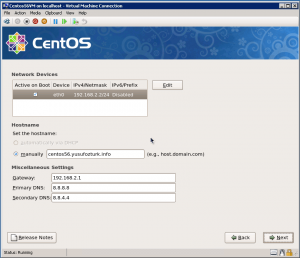
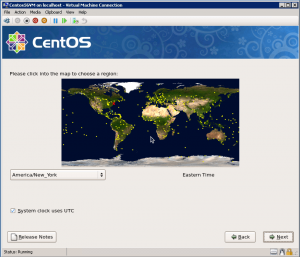
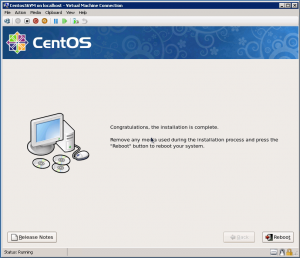
I want to show you how to install CentOS 5.6 Desktop on Hyper-V step by step with mouse support. Step 1: Start graphical CentOS installation and click next with space key on your keyboard. Step 2: Choose language of CentOS. Step 3: Select keyboard language. Step 4: Confirm re-initializing partition. Step 5: Select “Remove linux partitions and create default layout” and click next. Step 6: Click yes to confirm removing all data. Step 7: Click “Edit” button to configure IP address of the adapter. Step 8: Assign IP address and subnet mask for the network adapter. Step 9: Set hostname, gateway and dns addresses. Step 10: Choose your region. Step 11: Enter a password for VM. Step 12: Select “Customize Now” to install extra components. Step 13: Select “Development Tools” and “Development Libraries”. Step 14: Click next to start installation of CentOS. Step 15: If you see this screen, then you finished installation. You can continue reading on Part 2.
Posted in Linux Server, Virtual Machine Manager | No Comment | 3,852 views | 17/07/2011 11:09
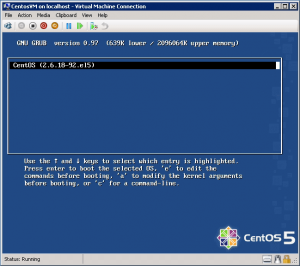
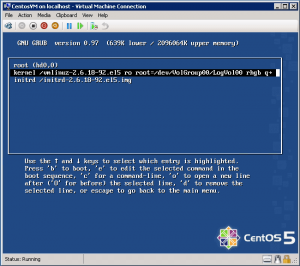
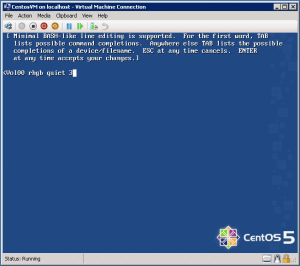
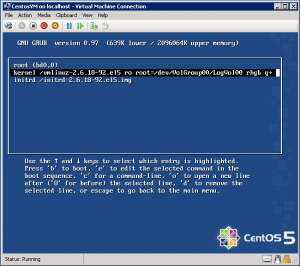
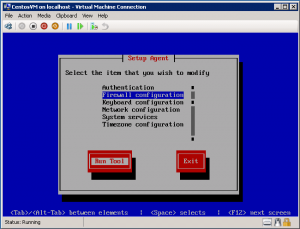
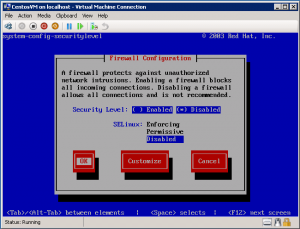
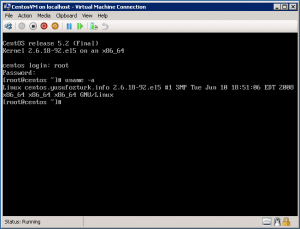
İlk bölümde CentOS kurulumunu tamamlamıştık. Şimdi Hyper-V LIC ve mouse desteğinin nasıl kurulacağını göreceğiz. Adım 16: Kurulum sonrası sunucu reboot edin ve klavyenizi kullanarak GRUB menüsüne düşün. Düzenleme için “e” tuşuna basın. Adım 17: Kernel’i seçin ve tekrar düzenleme için “e” tuşuna basın. Adım 18: Grafik arabirim olmadan sunucuyu başlatmak için satırın en sonuna gidin “3” yazın. Kaydetmek için “Enter” tuşuna yapın. Adım 19: Kernel’i tekrar seçin ve boot etmek için “b” tuşuna basın. Adım 20: Kernel boot olduktan sonra Setup Manager’ı göreceksiniz. “Firewall Configuration” seçeneğini seçip, “Enter” tuşuna basın. Adım 21: Tüm iletişimi açmak için firewall ve SELinux bileşenlerini kapatın. Adım 22: root kullanıcı adı ve şifresi ile sunucuya oturum açın. Kernel’ı görmek için “uname -r” yapın. Adım 23: Network durumunu kontrol edebilmek için bir ip adresine ping atın. Adım 24: LIC kurulumu için aşağıdaki komutları yazın.
Adım 25: Tar’dan çıkarma işlemi bittikten sonra “LinuxICv21” klasörüne gidin ve dosyaları kontrol edin.
Adım 26: Saat kaynağı olarak adjtimex kurulumu yapın.
Adım 27: adjtimex kurulumu bittikten sonra “make” yazın.
Adım 28: “make install” yazarak Linux ICv21 kurulumunu başlatın.
Adım 29: Kurulum bittikten sonra VMBUS servisinin başlamış olduğunu görmelisiniz. Adım 30: Mouse desteği için Satori kurulumu yapın.
Adım 31: Eğer sunucuda “xorg-x11-server-sdk” kurulu değilse, yum ile kurulum yapın.
Adım 32: Yum işlemi sonrası Satori kurulumunu tekrar deneyin.
Adım 33: eth0 ayarlarına gidin ve kontrol edin.
Adım 34: eth0 yazan yeri sentetik driver için seth0 olarak değiştirin. Adım 35: Donanım adını seth0 olacak şekilde düzenleyin.
Adım 36: Sunucuyu kapatıp, VM’in network seçeneklerine gidin. Emulated kartı silin. Adım 37: Aynı MAC adresi ve VLANID ile birlikte yeni bir sentetik kart oluşturup, sunucuya bağlayın. Adım 38: Ayrıca vCPU sayısını da yükseltebilirsiniz.. Adım 39: VM’i başlatın. CentOS içerisinde mouse desteği ve sentetik donanım desteği gelmiştir. |


